

Imagine this: you’ve got a garden bursting with fresh herbs, and suddenly you find yourself in a culinary conundrum. What do you do with all that greenery? Tossing it in the trash isn’t an option. Enter the oven—your secret weapon for transforming that herbaceous bounty into fragrant, dried goodness.
Drying Herbs In Oven
Drying herbs in the oven offers several advantages. First, it provides a quick method for preservation, minimizing waste from excess herbs. Second, oven-dried herbs retain much of their flavor and aroma, making them valuable additions to dishes.
Oven drying is efficient. It generates a consistent and controlled temperature, ensuring herbs dry evenly. This process eliminates the risk of mold or spoilage that can occur with air drying, especially in humid environments.
Convenience plays a significant role. Utilizing an oven allows for drying large batches at once, saving time and effort. An individual can easily prepare herbs for storage during a single cooking session.
Oven-dried herbs maintain their potency. Unlike methods that involve prolonged exposure to air, the quick drying process locks in essential oils and flavors. This retention results in vibrant herbal seasoning that enhances culinary creations.
Storage becomes easier as well. Dried herbs can be stored in airtight containers, extending their shelf life significantly. An individual can enjoy the taste of summer year-round, enriching their meals without relying on fresh herbs.
Savings on grocery bills also become noticeable. Growing a herb garden and drying the surplus reduces the need for purchasing expensive fresh herbs. Saving money while enjoying flavorful dishes offers a win-win situation.
Overall, choosing to dry herbs in the oven not only provides flavor-packed ingredients but also supports efficient use of homegrown produce.
Preparing Your Herbs
Fresh herbs enhance meals and offer vibrant flavors. Proper preparation is essential before drying them in the oven.
Selecting Fresh Herbs
Identify healthy herbs, focusing on vibrant leaves without any browning or wilting. Consider using popular options like basil, oregano, or thyme. Aroma plays a crucial role; select those that smell strong and fresh. Harvest herbs in the morning to capture their peak oil concentration. Trim excessive stems to optimize drying efficiency.
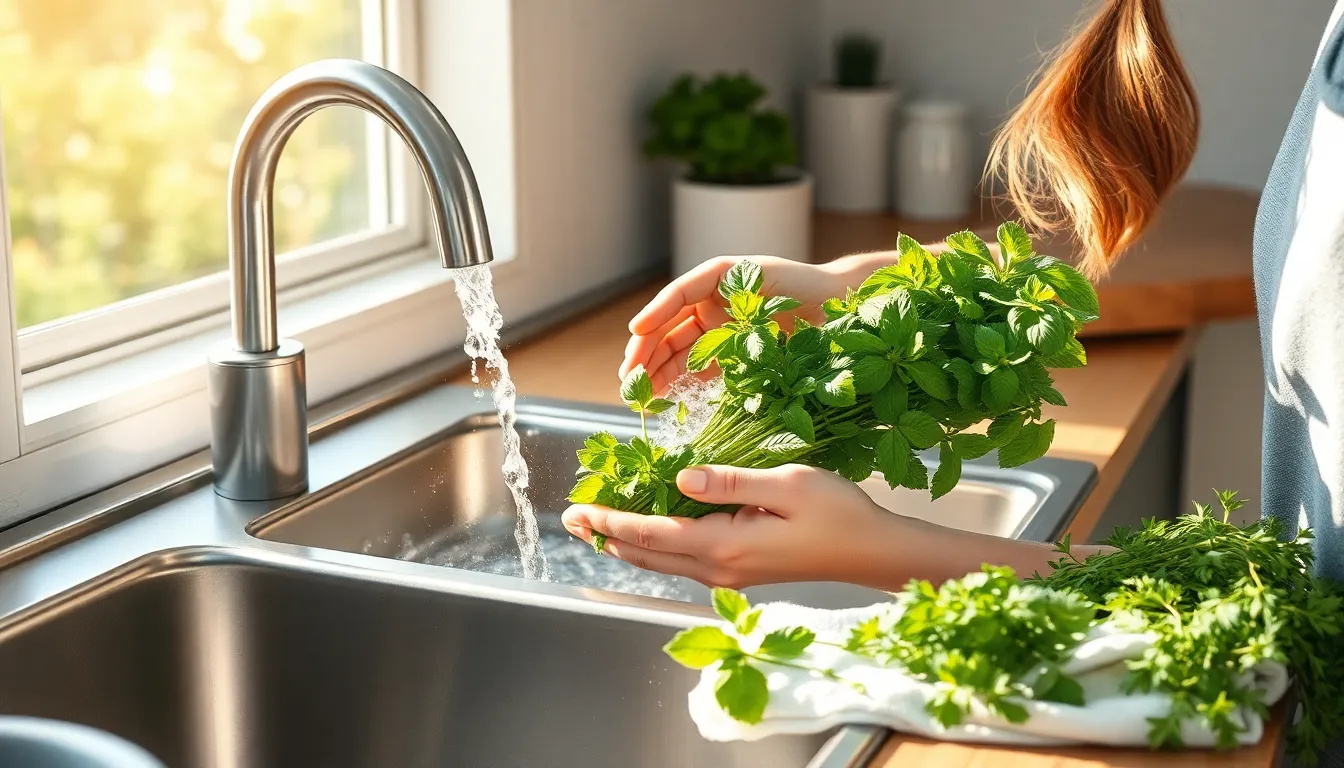
Washing and Drying Techniques
Rinse selected herbs gently under cool water to remove dirt and insects. It’s important to shake off excess water but avoid bruising the leaves. Use a salad spinner to eliminate moisture quickly. Lay herbs flat on a clean kitchen towel afterward to dry further. Allow herbs to air-dry for about 30 minutes, ensuring they remain crisp before oven drying. Tailoring moisture content reduces the risk of spoilage during the drying process.
The Drying Process
Drying herbs in the oven requires specific temperature settings and timing for optimal results. Proper management ensures herbs retain their flavors and aromas.
Temperature Settings
Set the oven temperature between 180°F and 200°F. This range allows for effective drying without cooking the herbs. Lower temperatures support a slow drying process, while higher temps can lead to flavor loss. Using an oven thermometer helps maintain the correct level, improving the quality of the dried herbs. Beside the right temperature, ensure good air circulation in the oven. Open the door occasionally to allow moisture to escape and enhance drying efficiency.
Timings for Different Herbs
Timing varies depending on the type of herb used. Soft herbs like basil or parsley typically require 1 to 2 hours for complete drying. In contrast, tougher herbs such as rosemary or thyme may need 2 to 4 hours. Check the herbs periodically, looking for crispy leaves and a noticeable change in texture. Remove herbs from the oven once they feel brittle, as over-drying can diminish flavors. Proper timing ensures the best preservation of essential oils and aromas.
Storing Dried Herbs
Correct storage of dried herbs maximizes flavor and extends shelf life. Choose airtight containers that prevent moisture from entering. Glass jars, metal tins, and vacuum-sealed bags work well for this purpose.
Label containers with the herb name and drying date. This practice helps in easily identifying the contents and monitoring freshness over time. Ideal storage locations include cool, dark, and dry areas. Heat, light, and humidity deteriorate the quality of dried herbs.
Check stored herbs regularly for any signs of moisture or spoilage. Freshness can diminish over time, impacting taste and aroma. Generally, dried herbs maintain potency for about six months to a year, depending on the herb type and storage conditions.
Keep herbs whole until ready to use for optimal flavor retention. Crushing or chopping herbs too soon can lead to oxidation and loss of essential oils. When ready to use, only then break them down for the best taste in dishes.
Consider using silica gel packets within storage containers for extra moisture control. These packets help to absorb any humidity that might compromise the dried herbs. Also, avoid overcrowding containers to ensure proper airflow and prevent mold development.
Maintain a rotation system by using the oldest herbs first. This strategy ensures that dried herbs get used while still fresh and flavorful. Enjoying the peak taste of dried herbs contributes to culinary delights and enhances home-cooked meals.
Conclusion
Drying herbs in the oven is a practical and efficient way to preserve the vibrant flavors of homegrown produce. This method not only reduces waste but also ensures that the herbs maintain their essential oils and aromas for future culinary adventures. With careful preparation and attention to temperature and timing, anyone can achieve perfectly dried herbs that enhance their dishes.
Storing the dried herbs properly in airtight containers keeps them fresh and potent for longer periods. By following these simple steps, individuals can enjoy the benefits of their herb garden year-round while saving money on grocery bills. Embracing this technique opens up a world of flavor and convenience in the kitchen.